From Sample to Bulk Production: How Embroidery Designs Are Created and Approved

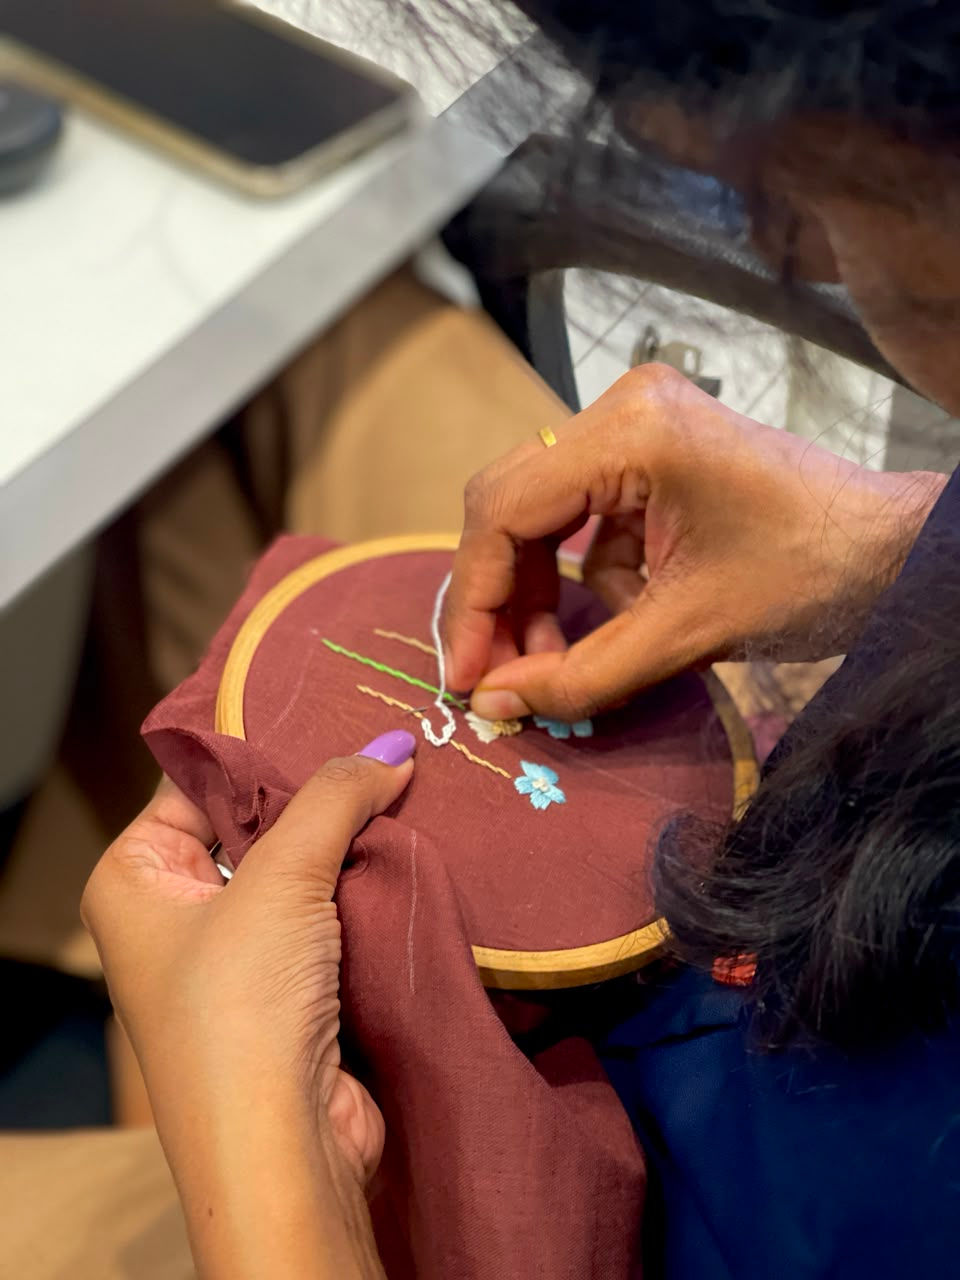
Embroidery adds beauty, texture, and a premium finish to a garment. However, creating a perfect embroidered design involves much more than simply stitching a pattern onto fabric. Before an embroidered garment reaches the customer, it goes through several important stages, including design development, sample creation, quality checking, approval, and bulk production.
Each stage helps ensure that the final embroidery looks neat, feels comfortable, and matches the original design idea. Here is a closer look at how embroidery designs move from the first concept to full-scale production.
Developing the Embroidery Concept
The process begins with an idea. Professional designers first decide the type of embroidery that will complement the garment.
They consider important details such as:
The style and theme of the dress
The age group of the wearer
The fabric type and thickness
The embroidery placement
The size and shape of the design
The colours of the threads
The overall comfort of the garment
For children’s clothing, embroidery designs are usually created to look attractive without making the garment feel heavy or uncomfortable. Designers may choose floral patterns, simple shapes, playful characters, delicate borders, or small decorative motifs based on the dress design.
Creating the Initial Design
Once the concept is finalised, the designer creates a detailed embroidery artwork. This artwork shows the exact shape, colours, dimensions, and placement of the embroidery.
The design may be drawn by hand or created digitally using professional design software. At this stage, the team carefully checks whether the embroidery matches the garment’s colour, fabric, neckline, sleeves, yoke, collar, or hemline.
The design must also be suitable for production. Some detailed artwork may look beautiful on a screen but may not stitch clearly on fabric. Therefore, designers simplify or adjust certain elements to make the embroidery practical and visually balanced.
Selecting the Fabric and Thread
Before creating the sample, the team selects the actual fabric and embroidery threads.
Different fabrics react differently during embroidery. Lightweight fabrics require careful stitching and proper backing support, while thicker fabrics may handle denser embroidery designs.
The thread colours are selected to match the approved artwork and garment colour. Designers may use matching shades for a subtle look or contrasting shades to make the embroidery stand out.
The quality of the thread is also important. Good-quality embroidery threads help create a smooth finish, maintain colour, and reduce the risk of breakage during production.
Making the First Embroidery Sample
After the embroidery file, fabric, and thread colours are prepared, the first sample is created.
This sample is usually produced on a small fabric piece or directly on a sample garment. It helps the design and production teams understand how the embroidery will look in real life.
The first sample allows the team to check:
Whether the colours are accurate
Whether the embroidery size is suitable
Whether the design placement is correct
Whether the stitches are clean and secure
Whether the fabric gathers or wrinkles
Whether the embroidery feels too thick or heavy
Whether the design matches the original concept
This stage is one of the most important parts of the embroidery process because it reveals issues that may not be visible in the digital artwork.
Reviewing the Sample
Once the sample is completed, it is carefully reviewed by professional designers, merchandisers, quality controllers, and production teams.
They inspect the design from both the front and back. The front should appear neat, balanced, and properly stitched, while the back should not contain excessive thread, rough edges, or uncomfortable finishing.
For kidswear, comfort is given special attention. Any rough embroidery backing or loose thread may irritate a child’s skin. Therefore, the team ensures that the embroidered area remains soft and comfortable.
The sample is also placed against the garment to confirm that the embroidery size and position work well with the complete design.
Making Necessary Corrections
The first sample may not always be approved immediately. The team may request changes to improve the embroidery.
Common corrections include:
Changing the thread colour
Reducing or increasing the embroidery size
Adjusting the placement
Improving the stitch density
Simplifying small design details
Correcting uneven outlines
Changing the backing material
Removing unnecessary stitches
Improving the finishing
After the corrections are made, another sample is created. This process may continue until the embroidery meets the required design and quality standards.
Although sampling takes time, it helps prevent larger problems during bulk production.
The Final Approval Process
Once the embroidery sample meets all requirements, it is submitted for final approval.
The approved sample becomes the reference standard for bulk production. It confirms the exact embroidery design, thread colours, size, placement, stitch quality, and finishing.
No major changes should be made after this stage without approval. The production team follows the approved sample closely to maintain consistency across every garment.
The final approval process is important because even a small mistake can become a major issue when hundreds or thousands of garments are produced.
Quality Checking During Production
Quality control is not limited to the final stage. Embroidered pieces are checked throughout the bulk production process.
The quality team compares random pieces with the approved sample and looks for:
Correct colours
Accurate placement
Consistent design size
Clean stitching
Secure thread ends
Fabric damage
Missing stitches
Uneven outlines
Wrinkles or puckering
If a problem is found, production may be paused until the issue is corrected. This prevents defective embroidery from continuing across the entire order.
Final Finishing and Inspection
After embroidery is completed, extra backing materials and loose threads are carefully removed. The fabric pieces are cleaned and prepared for garment stitching.
Once the garment is fully constructed, the embroidery is inspected again. This final check confirms that the design remains properly positioned and has not been damaged during cutting, stitching, washing, or ironing.
The finished garment should look attractive, neat, and comfortable. The embroidery should enhance the outfit without affecting its fit or softness.
Why the Sampling and Approval Process Matters
The embroidery sampling and approval process plays a major role in maintaining product quality.
It allows designers and production teams to identify mistakes before bulk manufacturing begins. It also helps control embroidery colours, placement, stitch quality, comfort, and consistency.
Without a proper approval process, a small design error could be repeated across an entire production order, leading to material waste, delays, and additional costs.
By carefully developing, testing, correcting, and approving each embroidery sample, manufacturers can produce garments that closely match the original design vision.
Conclusion
The journey from an embroidery idea to bulk production requires creativity, technical knowledge, teamwork, and careful quality control.
Professional designers first develop the concept and prepare a detailed design. A sample is then created, reviewed, corrected, and approved. Only after the final sample meets all quality and comfort standards does the design move into bulk production.
This detailed process ensures that every embroidered garment has a consistent appearance, clean finishing, strong stitching, and a comfortable feel. Behind every beautiful embroidered detail is a carefully managed journey from the first sample to the final product.


Comments